Since officially releasing our Zapier integration last year, our customers have definitely taken advantage of the ability to connect their forms with just about any web app you can think of (including Box, MailChimp, and QuickBooks). And with the addition of our new Document Merging feature, the possibilities for workflow enhancement are endless; for example, you can instantly generate custom documents from your entries, then archive them in your Google Drive account after submission.
The ability to send generated documents through Zapier is only available to organizations on our Pro, Team, and Enterprise plans.
To get started, you’ll first need to create either a standard or custom document template - for creating custom templates, check out our help topic for a few tips and tricks. Once you’re finished editing your template and uploading it back into Cognito, you can begin integrating your forms with your Google Drive account. To do this:
Sign up on Zapier
Sign up for a Zapier account to help you connect cloud services, like Cognito Forms and Google Drive. After you sign in to your account, you can click “Make a New Zap” to start creating your first Zap (aka, the integration between your Cognito Forms account and your Google Drive account).

Connect Your Cognito Forms Account
To begin:
- Select Cognito Forms as your Trigger app.
- Select New Entry as the Trigger.
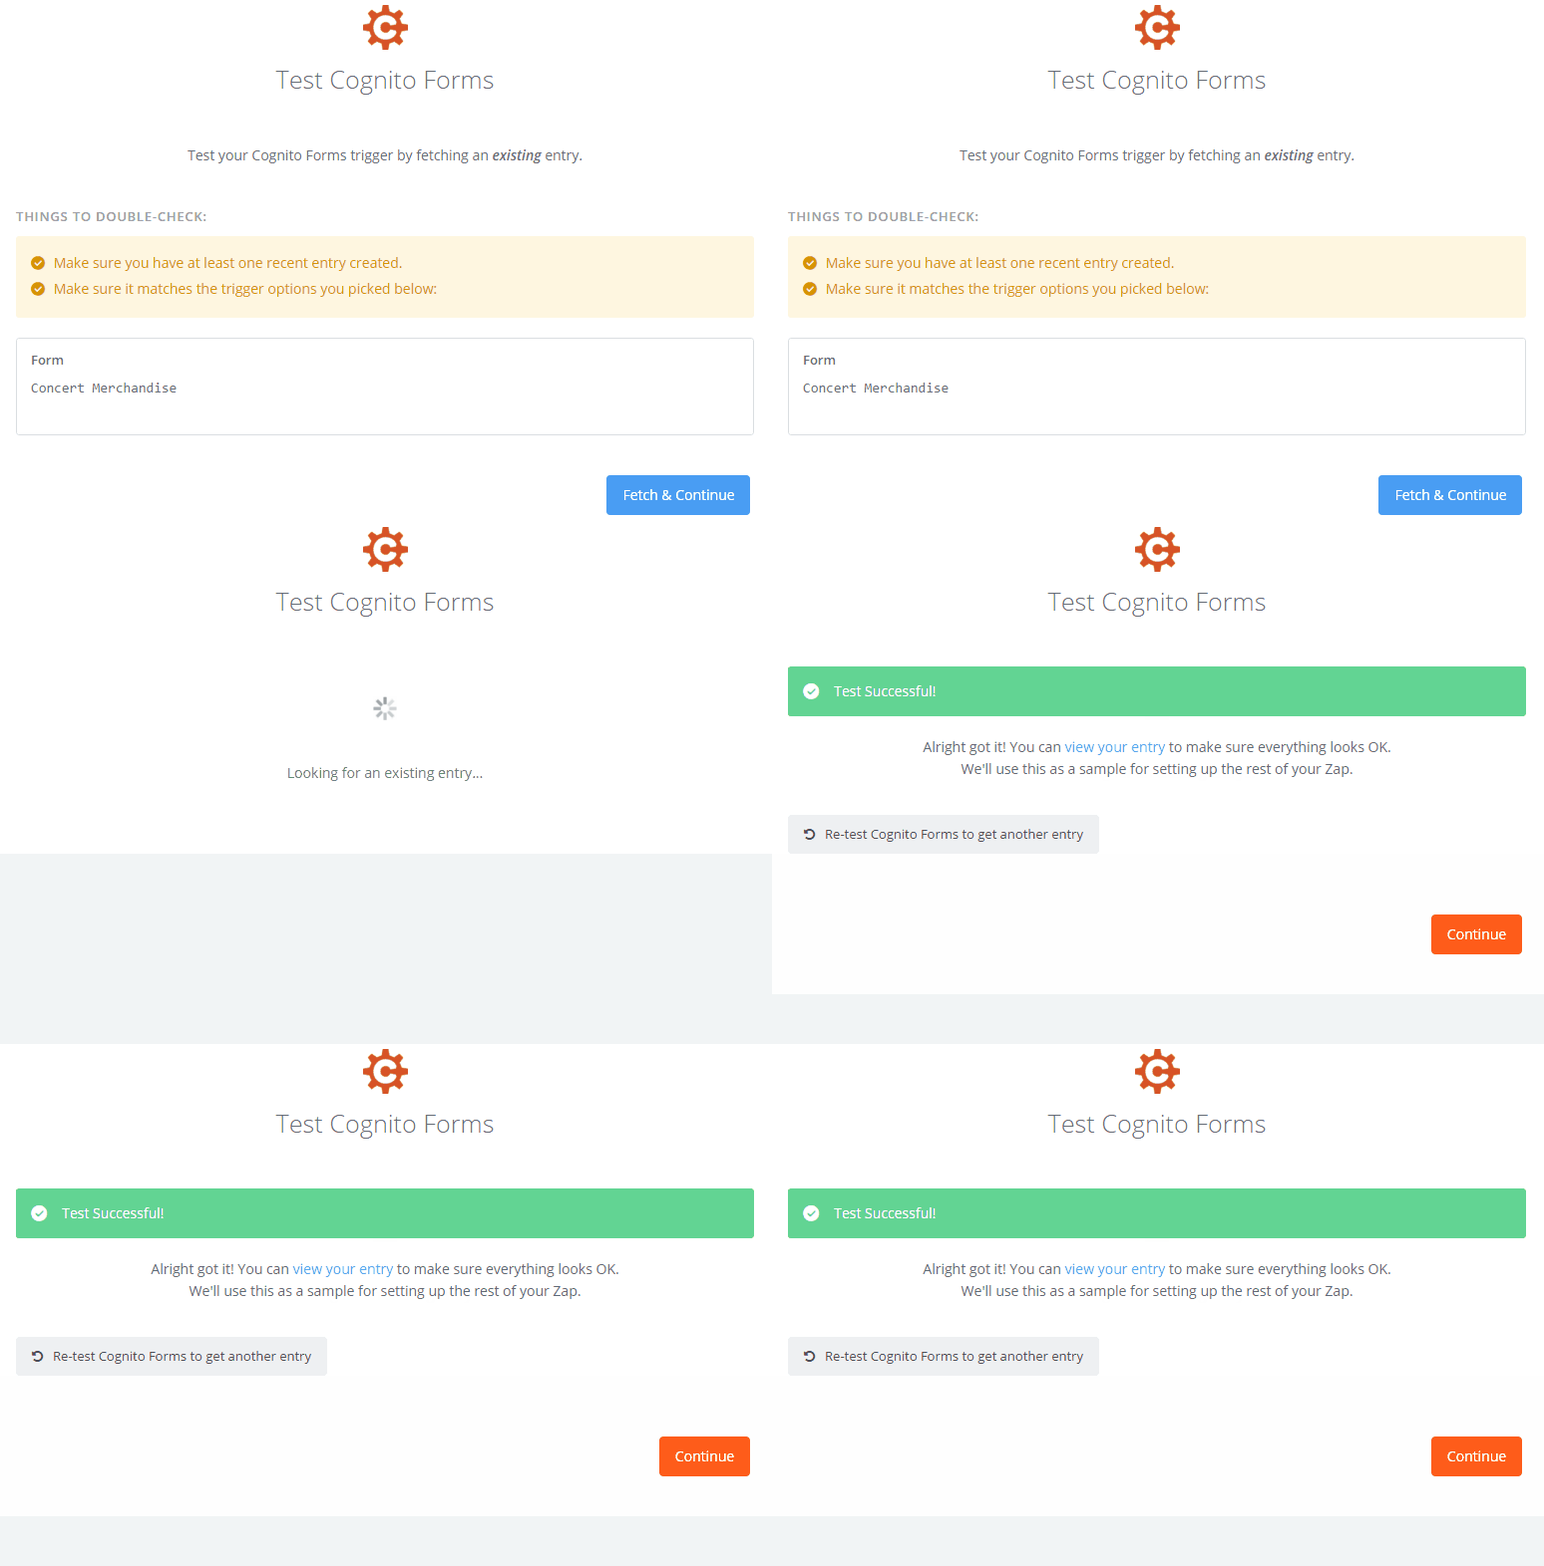
- Connect your Cognito Forms account with Zapier. You can press the test button on the right hand to side to ensure that the connection is secure.
- Select the form you want to use and test it out.
Connect Your Google Drive Account
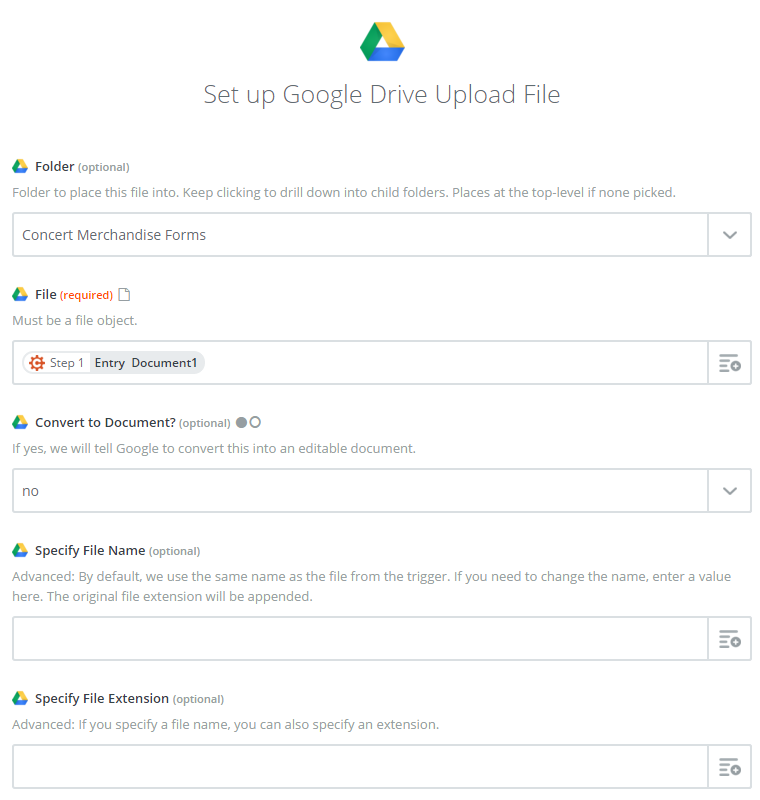
- After your test is successful, select Google Drive as your Action app.
- Choose the Upload file action.
- Connect your Google Drive account.
- For the File option, select the document template/s you want to send to your Google Drive. The templates will be listed according to their template IDs, which you can find in the Manage Document Templates dialog. For example, Template ID:2 will become Entry Document2 in Zapier. You can attach just one, or as many different document templates as you want.
- Finally, save and enable your trigger.
Test Your Zap!
Now, after a user submits their entry:
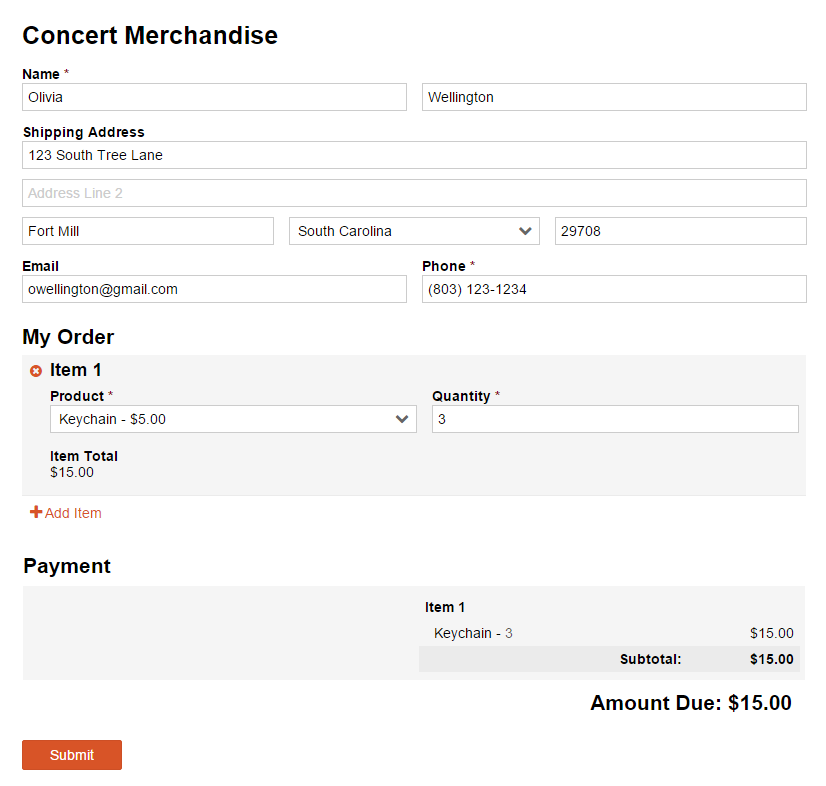
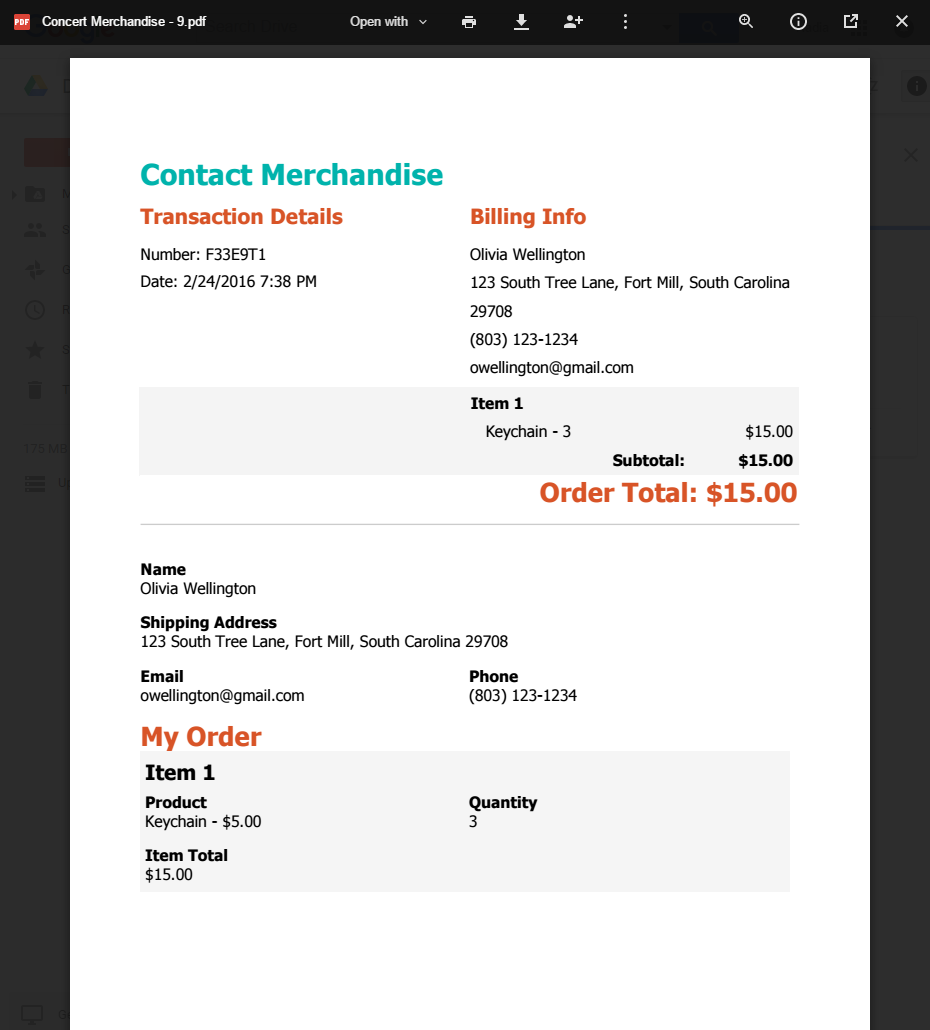
The entry will merge with your custom document template, which will then be saved to your Google Drive in your specified folder:
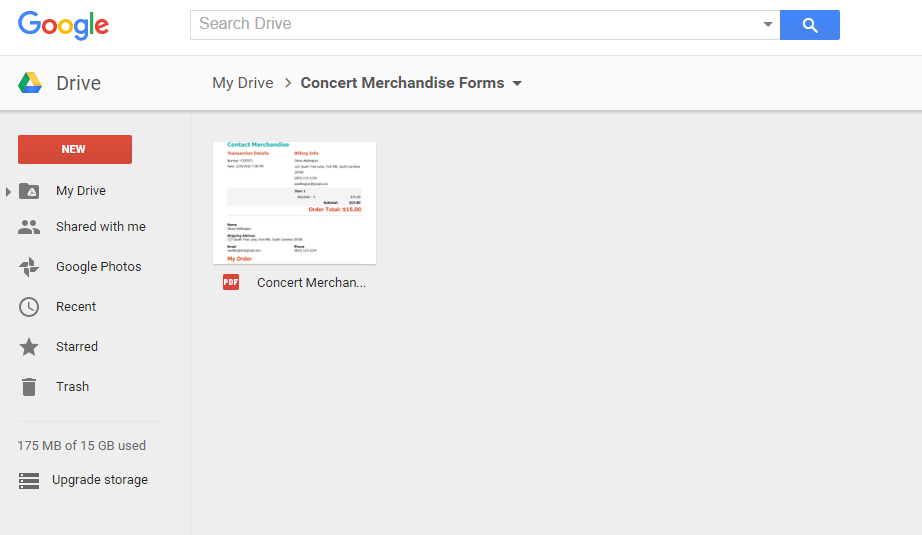
Click on the entry to view it in full, along with the options to print it out or share it.
Have any questions about our document merging feature, or our Zapier integration? Feel free to contact us and we’d be happy to help!