You already know Cognito Forms is great for creating online forms to collect payment for advance ticket sales and event registrations. However, it is also a great option for point of sale to process tickets at the door, along with event merchandise and food sales. Learn how easy it is to handle these payments like a pro, with just an iPad and a little Cognito Forms magic!
1. Build Your Form
In this example, we’re going to build a basic order form to sell concert tickets to customers at the door. To begin, we just need a couple fields, such as Name, Email, and Phone. Make sure to set the fields as required if necessary.
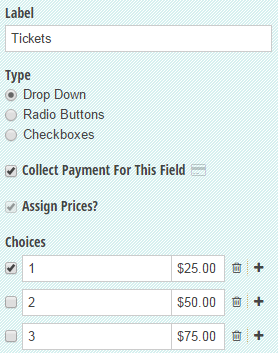
Next, we need to add our products and pricing to the form. For listing tickets, simply insert a Choice field labelled “Tickets” and add the quantities as list items. Then, check the box for “Collect Payment for This Field.” This will automatically select the “Assign Prices?” field, which will allow you to specify prices for each list option.
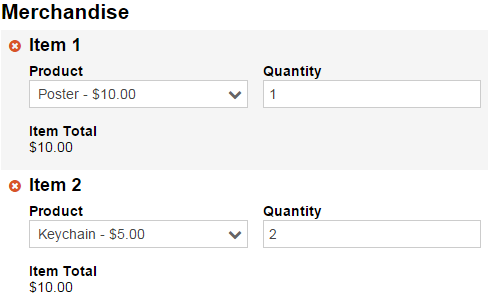
If you wanted to sell some merchandise in addition to tickets, a repeating section works great. Within the repeating section, just insert a Choice field similar to the Tickets field with product names and prices, a quantity field, and an item total field.
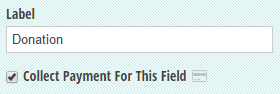
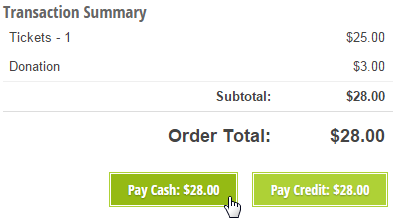
Lastly, you can also insert a Currency field for collecting donations of any amount.
To see this form in action with everything already in place, you check out this template!
2. Configure Your Form To Collect Payment
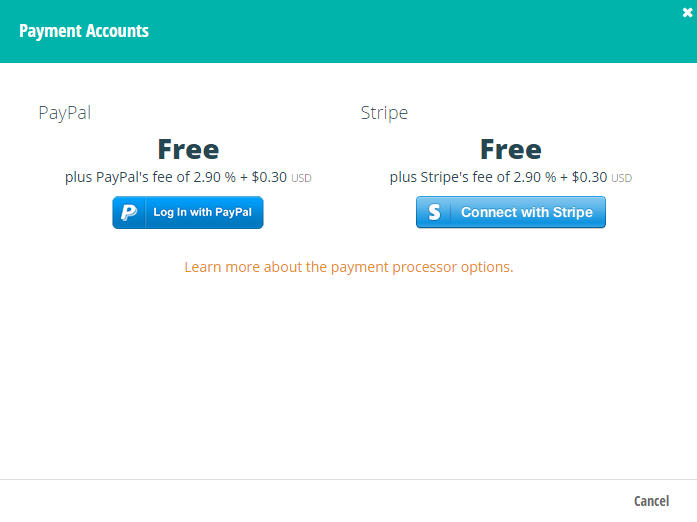
In order to collect our ticket profits, we need to connect our form with our PayPal or Stripe account. To start, find the “Payment: Add Account” link at the bottom of your form builder, and select either “Log In with PayPal” or “Connect with Stripe”. Both options will allow you to register for a new account, or connect your existing one. After you’ve completed the registration or sign in process, you’ll be taken back to Cognito Forms, where you can continue building your form.
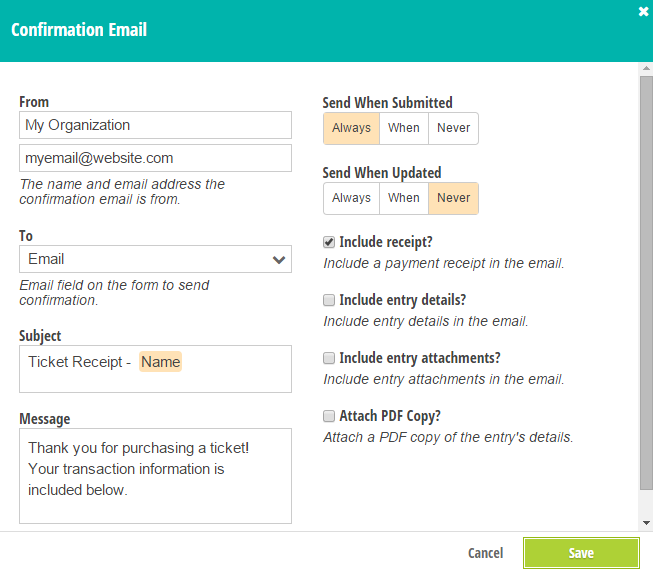
As the final step in setting up our form, we need to ensure that our customers get a receipt after they purchase their tickets. To enable this feature, go to Submission Settings in the form builder and select Confirmation Emails from the list. In the dialog that appears, you’ll have several options for customizing the content of the email. For instance, if you want to personalize it a bit, you can insert the Name field in the Subject line or Message. Most importantly, be sure to click the “Include receipt?” option so your customers have a record of their order.
3. Share Your Form
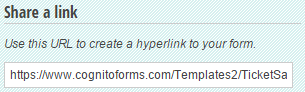
To share your form with your fellow event staff, just go to the Publish page in your form builder and copy the link from the “Share a link” section. Because Cognito Forms are responsive, you can access this link on any mobile phone, tablet, or laptop, and it’ll still look and function great.
4. Scan Cards With IOS 8 & 9
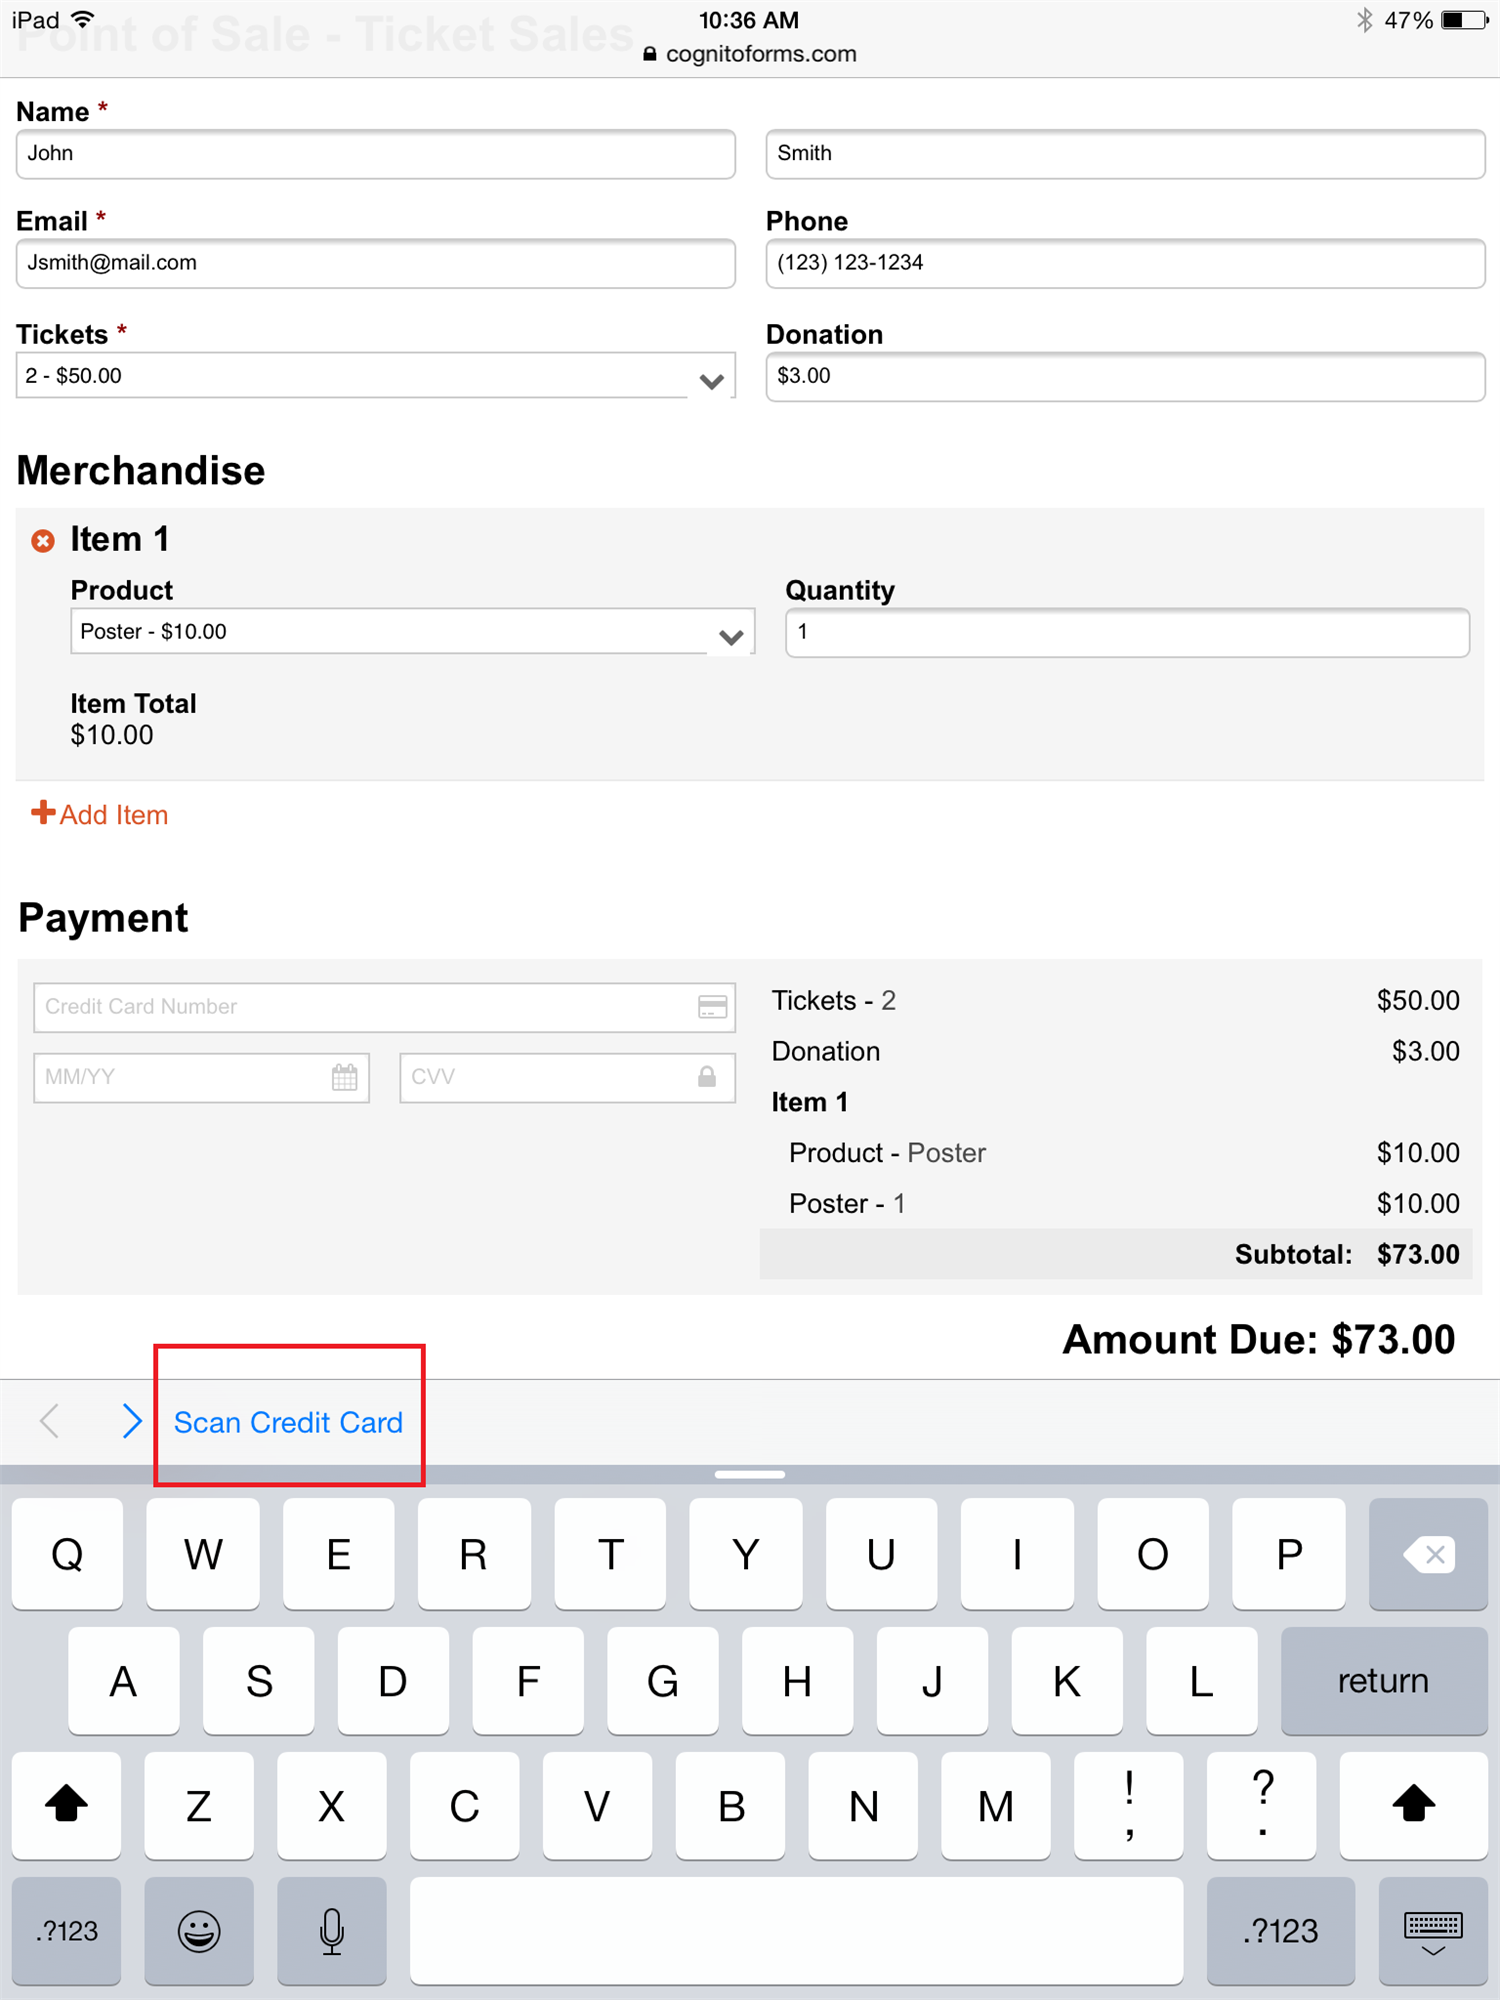
Instead of dealing with a cumbersome card reader at your event, you can pull up your form on an iPad and take advantage of the card scanning ability built into the iOS 8 and 9 versions of Safari. The way it works is pretty straightforward: as soon as you click the credit card field on your form, the card scan option will appear at the bottom of your browser.
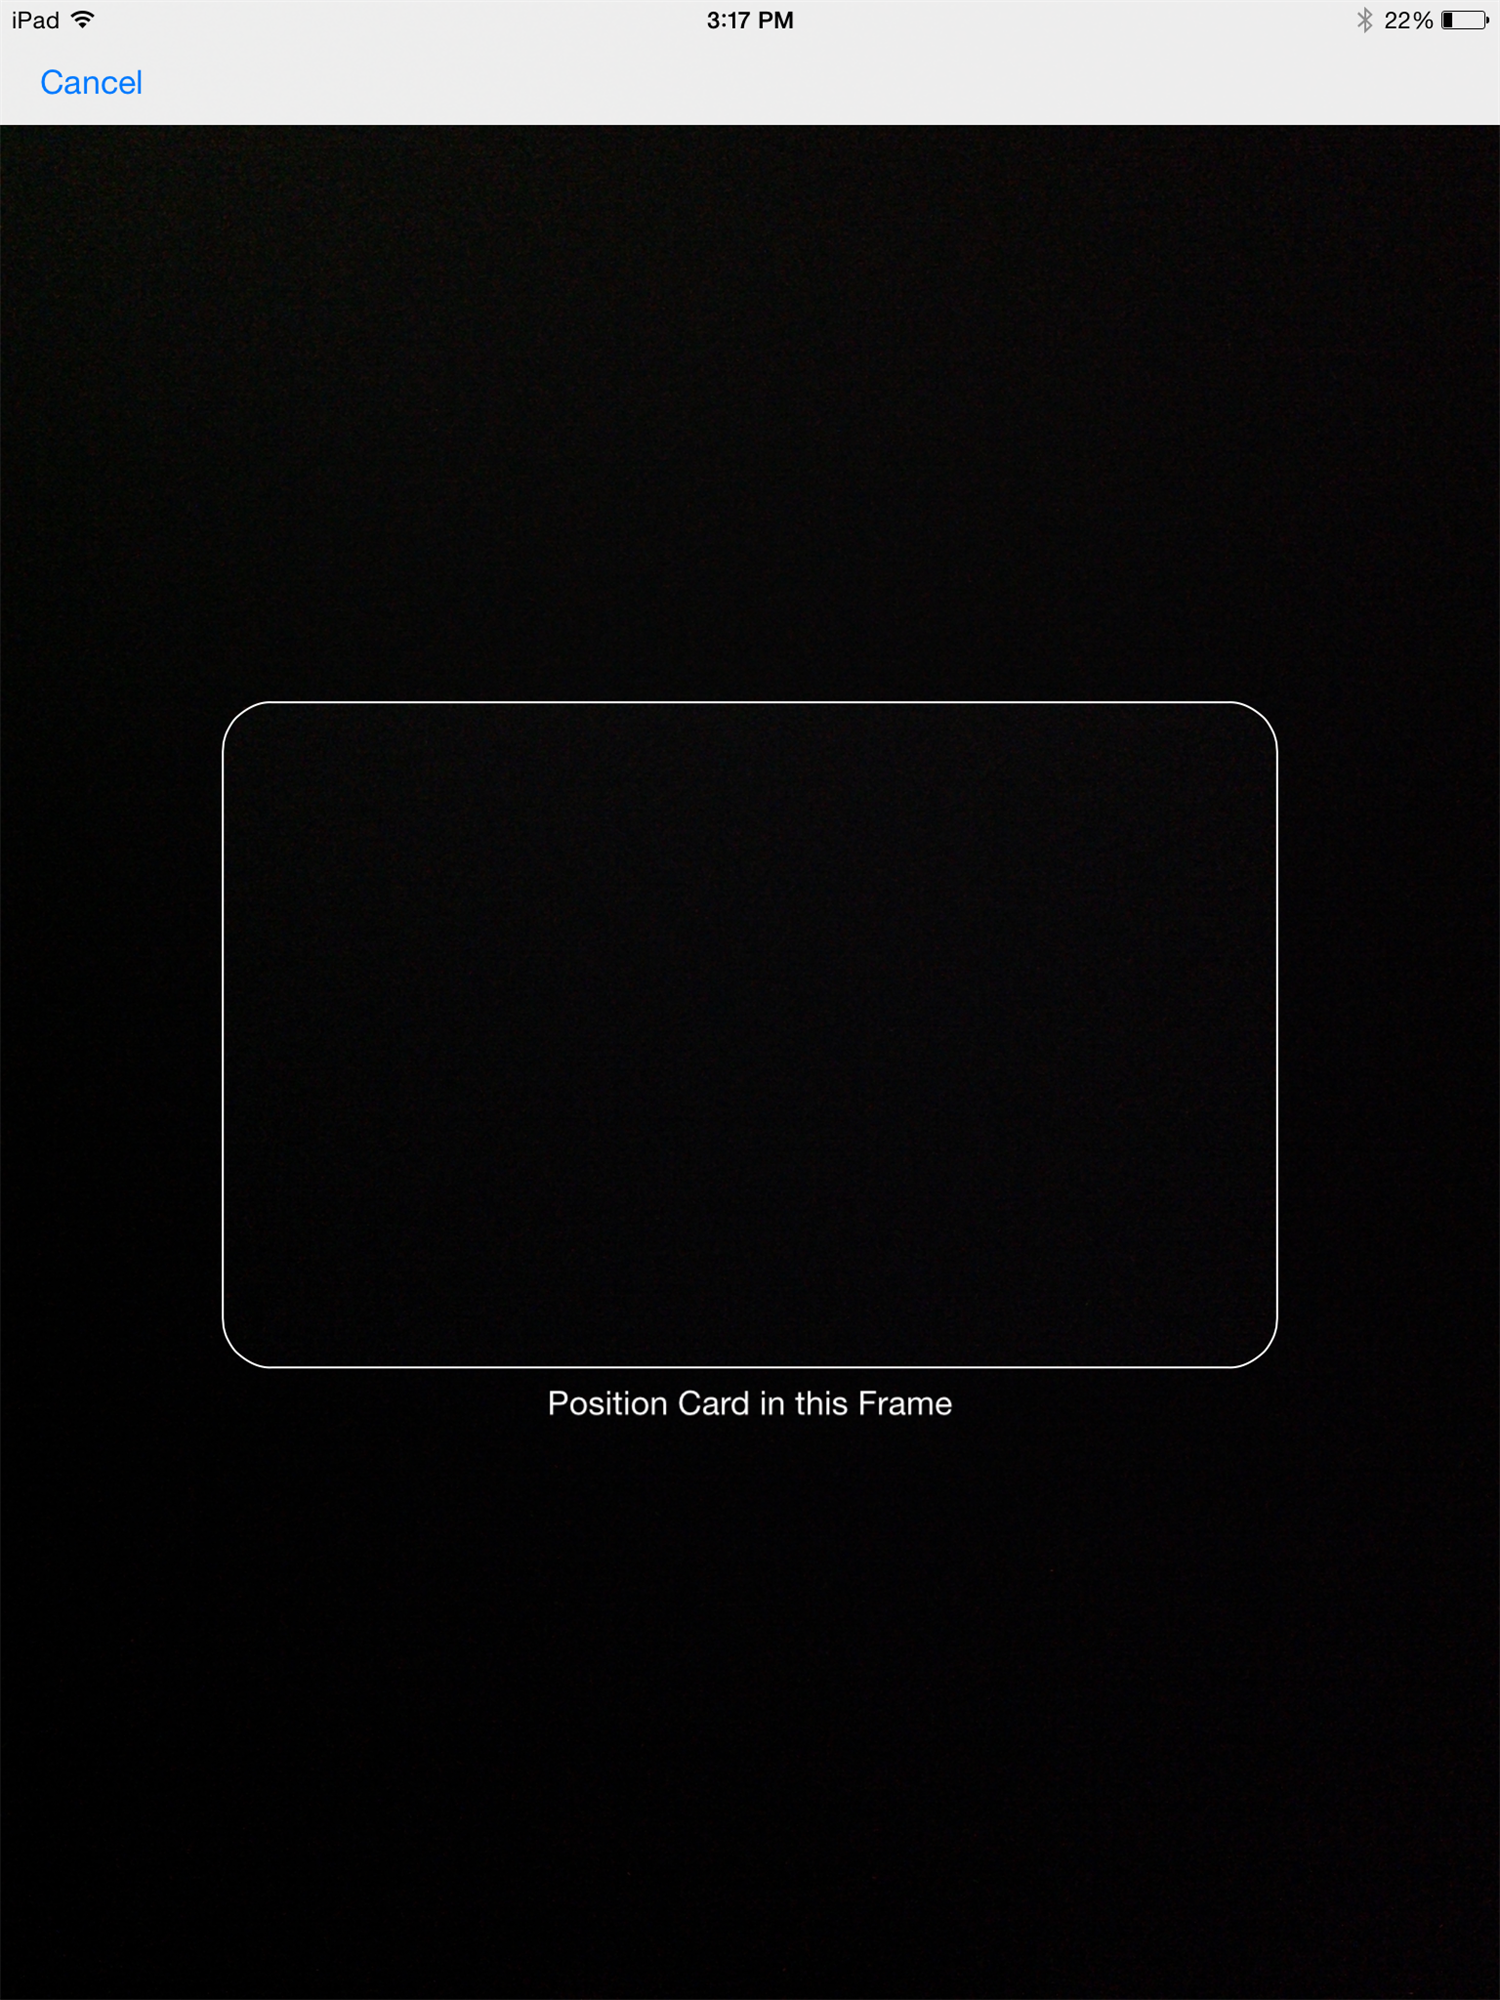
Selecting this option will open up your device’s camera, where you can quickly scan a customer’s credit card to automatically transfer the digits into your form.
Additionally, if you do use a card reader, clicking the credit card field and scanning the card through the reader will enter the digits in the same way. Or, if a customer wants to pay with cash, you can just manually update the payment through the Entries page.
5. Refund Orders and Tally Results
Cognito Forms supports integrated payments, so collecting payment, issuing refunds, and creating invoices can all be done within your account. If a customer decides to cancel their transaction, you can open up your Entries page, select their order, and refund their money back right on the spot.

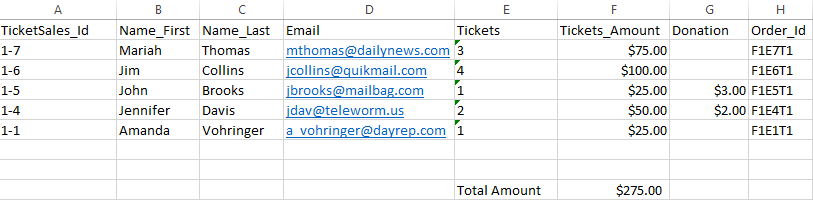
Finally, at the end of your event, you can export your payment totals to tally the results of your sale. Select “Export” at the top of your entries page to view your orders in an Excel spreadsheet, and calculate your total profit.
If you have any specific questions about payment or creating your form, feel free to contact us. If you’re new to Cognito Forms, get started building powerful, responsive forms for free today!
'%3e%3crect%20x='-1'%20y='-3.5'%20width='311'%20height='311'%20fill='%2392b8b8'/%3e%3cpolygon%20points='-8%200.5%2052%200.5%20267%20306.5%20-8%20306.5%20-8%200.5'%20fill='%23bdcccc'/%3e%3cellipse%20cx='149.24'%20cy='142.07'%20rx='69.16'%20ry='107.99'%20fill='%23fff'/%3e%3crect%20x='113.07'%20y='233.04'%20width='73.41'%20height='70.46'%20fill='%23fff1d0'/%3e%3cellipse%20cx='154.03'%20cy='123.45'%20rx='90.97'%20ry='98.95'%20fill='%23234652'/%3e%3cpath%20d='M174.06,190.82a15.64,15.64,0,0,0-2.9,22c-.41.31-.81.65-1.2,1-.17.16-.32.33-.48.5s-.4.39-.58.6-.34.42-.5.62-.31.38-.45.58-.29.44-.43.66-.28.41-.4.63-.24.44-.35.66-.25.46-.36.7-.18.46-.27.68-.2.49-.29.75-.16.53-.23.8-.14.44-.19.67a15.74,15.74,0,0,0-.4,3.06c0,.23,0,.46,0,.69s0,.56,0,.84.06.53.09.79.05.49.09.73.1.51.16.77.1.49.16.73.15.47.22.71.16.5.25.75.19.45.28.67.21.49.33.73.26.49.4.73.22.41.34.61c.28.44.57.88.89,1.29a15.63,15.63,0,0,0-2.89,22l0,0a15.63,15.63,0,0,0-2.89,21.92l0,0a15.64,15.64,0,0,0,7.45,27.93c6.24.82,47,.87,53.31.07a15.64,15.64,0,0,0,7.6-27.89l0,0a15.65,15.65,0,0,0-2.78-21.95h0a15.62,15.62,0,0,0-2.78-22h0v0h0c.31-.4.6-.82.87-1.25.13-.2.24-.41.35-.62s.28-.47.4-.72.22-.48.33-.73.2-.44.29-.67.17-.5.25-.75.16-.46.23-.7.11-.49.17-.74.12-.5.16-.76.06-.49.09-.73.07-.53.09-.79,0-.56,0-.84,0-.46,0-.69a15.73,15.73,0,0,0-.39-3.06c-.05-.23-.12-.45-.19-.67s-.14-.54-.22-.81-.19-.49-.29-.74-.17-.46-.27-.68-.23-.47-.35-.71-.22-.44-.34-.66-.27-.42-.4-.63-.27-.45-.43-.66-.3-.39-.45-.58-.32-.43-.49-.63-.39-.4-.58-.61-.31-.33-.48-.49c-.38-.36-.78-.71-1.19-1a15.65,15.65,0,0,0-2.78-22Z'%20fill='%23234652'/%3e%3cellipse%20cx='149.24'%20cy='147.39'%20rx='69.16'%20ry='113.31'%20fill='%23fff1d0'/%3e%3cpath%20d='M80.09,147.39c0,62.58,31,113.31,69.15,113.31V34.08C111.05,34.08,80.09,84.81,80.09,147.39Z'%20fill='%23fff'/%3e%3cellipse%20cx='176.37'%20cy='67.98'%20rx='28.24'%20ry='66.22'%20transform='translate(33.32%20191.53)%20rotate(-61.9)'%20fill='%23234652'/%3e%3ccircle%20cx='123.54'%20cy='130.9'%20r='9.41'%20fill='%23234652'/%3e%3cpath%20d='M116.54,191.54a33,33,0,0,0,65.4,0Z'%20fill='%23d85427'/%3e%3ccircle%20cx='177.08'%20cy='130.9'%20r='9.41'%20fill='%23234652'/%3e%3cpath%20d='M126.19,197.93c1.47,7.8,11.23,13.83,23.05,13.83s21.58-6,23.06-13.83Z'%20fill='%23fff'/%3e%3c/g%3e%3c/svg%3e)
Nadia Afshar
Nadia, the Technical Writer for Cognito Forms, develops documentation, support content, and how-to videos. No matter your experience – with her help, you'll be able to take full advantage of the product. In her spare time, Nadia enjoys listening to French house, drinking coffee, and talking about herself in third person.