Automatically create entries to build powerful multi-form workflows. When someone submits your form, this feature will create a new entry on another form (or the current form) using data from their submitted entry. This automation streamlines the process of collecting and managing information across multiple forms, ensuring a seamless flow of data through the entire workflow.

Set up your automation
Here’s how it works:
- Use a Lookup or Person field to link two forms, like Form A (where the workflow starts) and Form B (where entries will be created automatically).
- In Form A, turn on Use with Lookup Field? or Use with Person Field? in the form settings.
- In Form B, add a Lookup or Person field and select Form A under Look Up Choices From or Look Up People From.
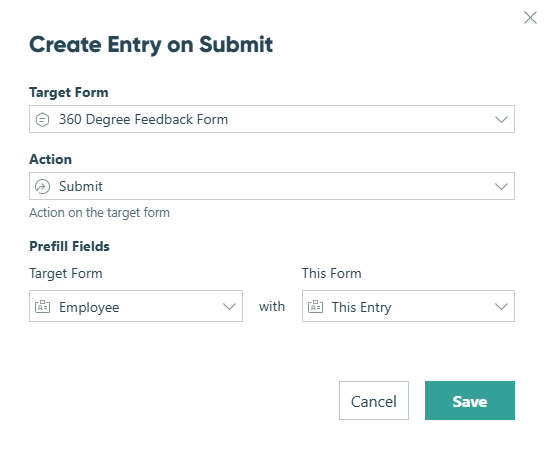
- In Form A’s Workflow menu, go to Action Settings > Create Entries > + New Entry.
- Choose Form B as the target form and Submit as the action.
- Finally, prefill the Lookup or Person field in Form B with entry data from Form A.
Now, whenever you add a new entry in Form A, a matching entry is automatically created in Form B. This automation can be applied within a single form or across multiple forms.
Create Entry settings
You can find the Create Entries option in your form’s Workflow menu, located under Action Settings.
Target Form
Select the form to create new entries on. The current form and the target form must be connected with Lookup or Person fields to auto-create entries.
Additionally, you must have Administrator permissions on both forms.
Action
Select the workflow action on the target form. This triggers every setting configured for that action, including assigning new entries to the corresponding workflow status and sending email notifications.
By default, entries are created automatically whenever the selected action is triggered. To conditionally control when entries are created, set an Allow Action - When condition on the action selected in the Action dropdown. If that action is not allowed, no entry will be created.
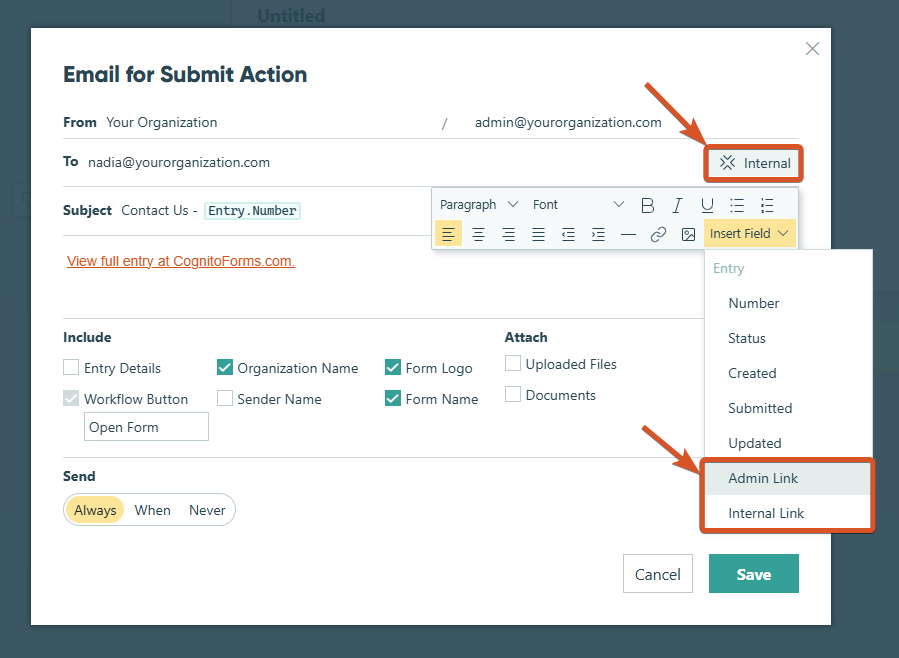
If the entries you’re automatically creating on the target form are set to trigger email notifications, those emails must include either workflow links or admin links.
Prefill Fields
Select one or more Lookup fields or Person fields to prefill with fields from the current form. Please note that Repeating Section or Table field items cannot be used to generate entries.
Creating a multi-form workflow
Use Auto-Create Entries to automate complex workflows with multiple steps or approvals. For example, when the Human Resources department is onboarding a new employee, this feature can automatically create the employee’s first timesheet. Here’s how it works:
-
Create an employee list form. Make sure to include any necessary fields, like Name, Address, Email, Department, etc.
-
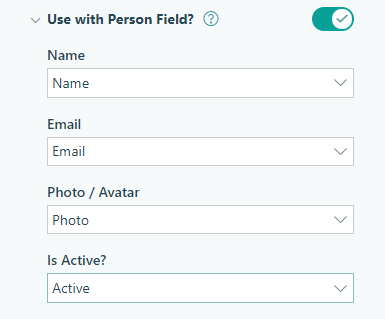
In your form settings, enable Use with Person Field? and map the matching fields from each drop-down.
-
Populate the form entries with employee details.
-
Next, create a Timesheet form.
-
Select Person from the Add Field menu and label your Person field ‘Name’. In the Person field settings, find the Look Up People From option and select the Employee List form.
-
Make sure to save your changes and go back to your Employee List form.
-
Under the Workflow menu, go to Actions and open the Submit action settings.
-
Find Create Entries in the Action Settings and select + Add Entry.
-
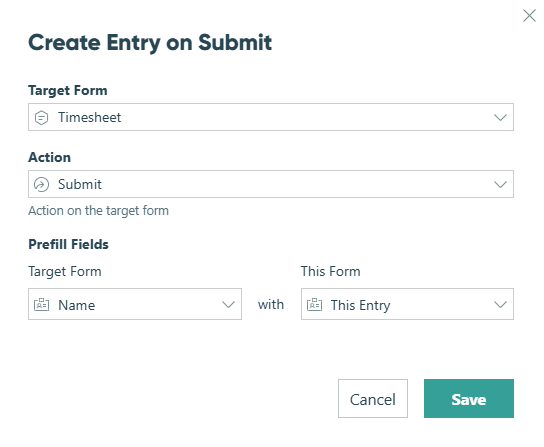
Select the Timesheet form as the Target Form. Set the Action to Submit and prefill the Name field on the Employee List with the data from this entry.
-
Make sure to save your changes. Now, when you submit an entry to the Employee List form, a new entry is automatically created for that employee on the Timesheet form.