When you make changes to the current entry view (such as adjusting columns or applying filters and sorting), you can click Save As to store those settings as a new, unique entry view. As you continue making changes, click Save to update the current view. You can create up to 20 entry views per form and easily switch between them as needed.
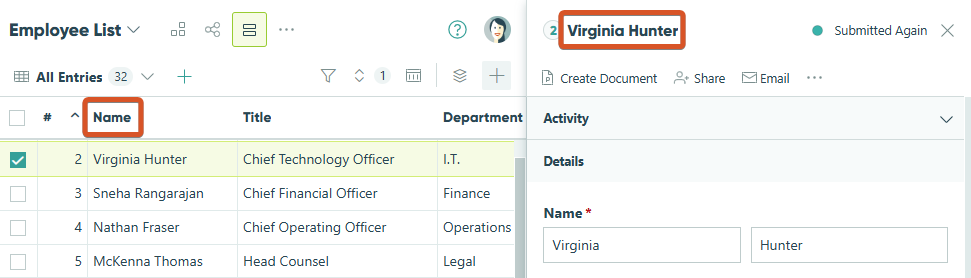
Click and drag a field to the first column on the Entries grid to display that field value at the top of each entry. Some columns (including Signature fields, File Upload fields, Content fields, Repeating Sections/Tables, and Entry Status/Date Submitted) will be skipped.
Grid views
Grid views display form entries in a grid format. From the top menu, you can customize the columns and sort/filter options and perform actions on the entries.
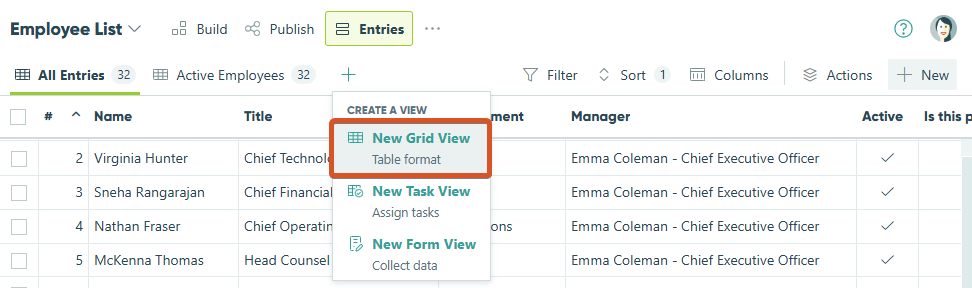
To create a new grid view:
-
Click the form name in the sidebar to open the Entries page.
-
In the entry view list on the top toolbar, click the plus icon (+) and select New Grid View.
-
Select Save to save your new entry view. To set this view as the default view for your Entries page, click and drag the entry view to the top of the list.
Grid view settings
Hover over the entry view name in the top toolbar and click the ellipsis (…) to edit your view settings.
- Rename View – Edit the name of the view.
- Duplicate View – Make a copy of the view.
- Delete View – Delete the view. Views cannot be restored once deleted.
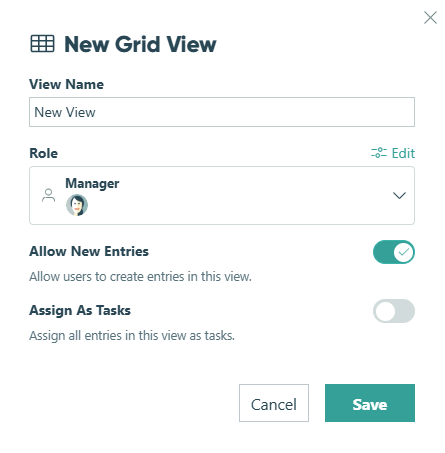
- View Settings – Open your view settings:
- View Name – Edit the name of the view.
- Role – Set a workflow role for the view. This setting will only display the fields (and actions) available based on your form’s workflow roles. You can also click Edit to choose how entries in the view are shared for this role.
- Allow New Entries – Users can create entries in this view using the + New button in the top right.
- Assign As Tasks – Assign all entries in this view as Workflow Tasks. Selecting this option will transform the grid view to a task view (see below).
- Sync View To – Sync this view’s data with tools like Power BI, Excel, Tableau, or any OData consumer using the Public API. Learn more about integrating with data analytics tools.
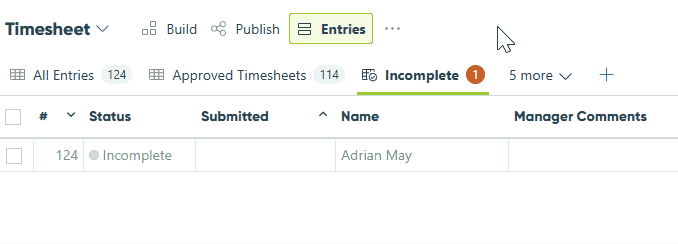
Task views
Like grid views, task views display form entries in a grid format. However, in a task view, entries are assigned to workflow participants as tasks. The orange icon next to the entry view name and the task dashboard shows the number of pending tasks.
Refer to our help guide to learn more about creating user-specific task views and assigning Workflow Tasks.
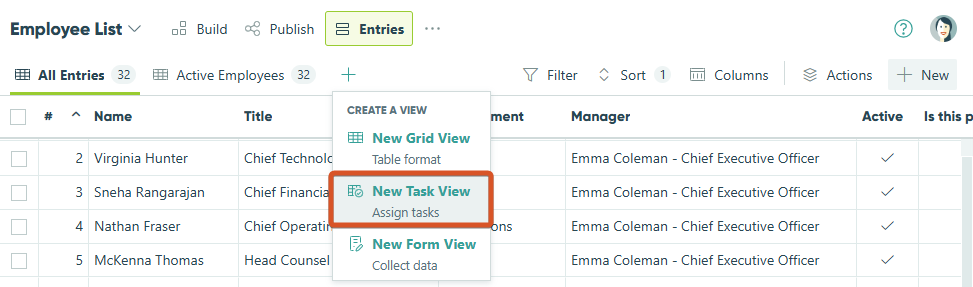
To create a new task view, click the plus icon (+) and select New Task View.
To set this view as the default view for your Entries page, drag the entry view to the top of the list.
Task view settings
Hover over the entry view name in the top toolbar and click the ellipsis (…) to edit your view settings.
-
Rename View – Edit the name of the view.
-
Duplicate View – Make a copy of the view.
-
Delete View – Delete the view. Views cannot be restored once deleted.
-
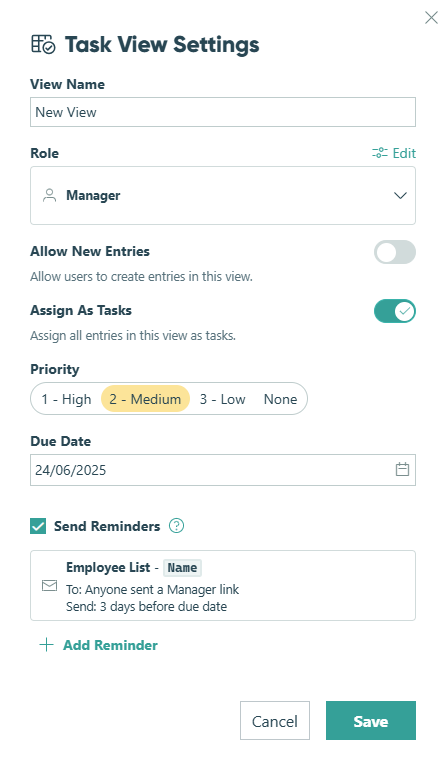
View Settings – Open your view settings:
-
View Name – Edit the name of the view.
- Role – Set a workflow role for the view. This setting will only display the fields (and actions) available based on your form’s workflow roles. You can also click Edit to choose how entries in the view are shared for this role.
- Allow New Entries – Allow users to create entries in this view using the + New button.
- Assign As Tasks – Assign all entries in this view as Workflow Tasks.
- Priority – Set the priority level for tasks in this view.
- Due Date – Set a due date for tasks in this view. The due date can be a static calendar date, a Date field set to the Date type, or a Calculation - Date field on the form.
- Send Reminders – Schedule up to 3 automated reminder emails for tasks in this view.
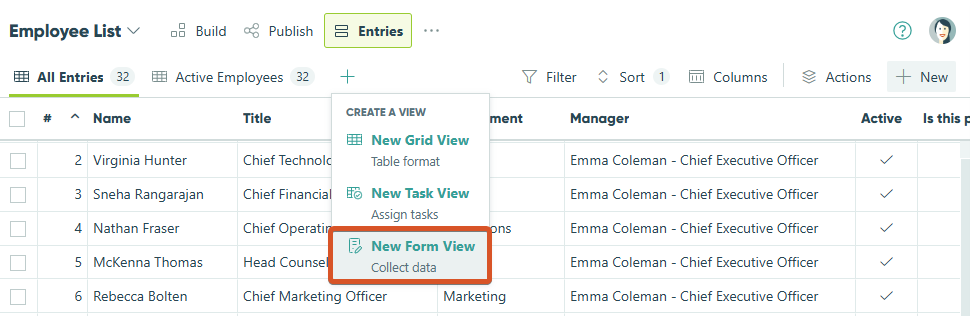
Form views
Form views display the form in a specified role (Public, Internal, etc.) and allow users to create new entries. All users (including those with Limited Access permissions) can access form views in the Public role when allowed by public link settings.
To create a new form view:
-
Click the form name in the sidebar to open the Entries page.
-
In the entry view list on the top toolbar, click the plus icon (+) and select New Form View. Edit the view settings (including the view name, workflow role, and page location after submitting the form).
-
Select Save to save your new entry view. To set this view as the default view for your Entries page, click and drag the entry view to the top of the list.

Form view settings
Hover over the form view name in the top toolbar and click the ellipsis (…) to edit your view settings.
- Rename View – Edit the name of the view.
- Duplicate View – Make a copy of the view.
- Delete View – Delete the view. Views cannot be restored once deleted.
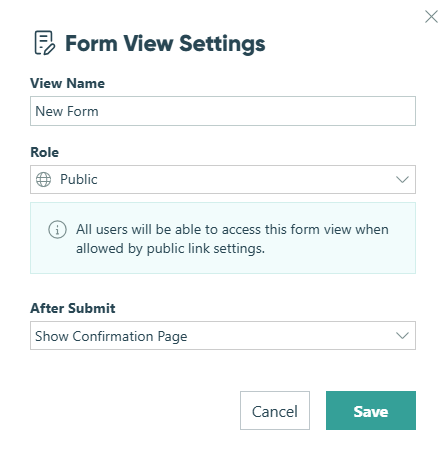
- View Settings – Open your view settings:
- View Name – Edit the name of the view.
- Role – Set a workflow role for the entry view. This setting will only display the fields (and actions) available based on your form’s workflow roles. You can specify which organization members can access this role-based view from the Edit Role dialog in the Workflow menu. The assigned role will appear next to the view name in the entry view list. Setting the role to Public gives all users access to the form view when allowed by public link settings.
- After Submit – Choose between showing the form confirmation page or redirecting the user to another entry view after submission.